How To Create a New Tenant User?
What is ApiGo User Management System?
ApiGo allows for multiple users to access the system simultaneously, each with a defined set of permissions. Multiple user roles can be created, each with their own set of permissions, and then assigned to users which grant them certain privileges within the system. With continuous growth, the dependability and usability of user management features are becoming more of a factor when creating open services.
ApiGo User Management System describes how Tenant Admin manages a user’s access to various resources like Configurations, Endpoints, Documents, and Restrictions. User management is a core part of ApiGo and it is a basic security essential. ApiGo provides the simplest and easiest to use User interface to help administrators manage user identities including creating and deleting users. This section describes how to manage users and user roles.
How It Works?
- To add a new tenant user, ApiGo offers a User Management panel which can be given authorization to other users. This feature can be managed by Tenant Admin via Management Portal’s Users Section. Do so by clicking on Users on the left side of the displayed screen. This will lead to the User Management page where tenant admin can click on Add New to create a new role.
Management Portal -> Users -> Add New

- After click on the “Add New” button, User Detail Screen will be available to enter the new tenant user details. As part of creating a username, the tenant admin is required to define the user role. Email address and permissions which will be used by the new tenant user can be defined with this screen. More than one permission can be defined for a user.
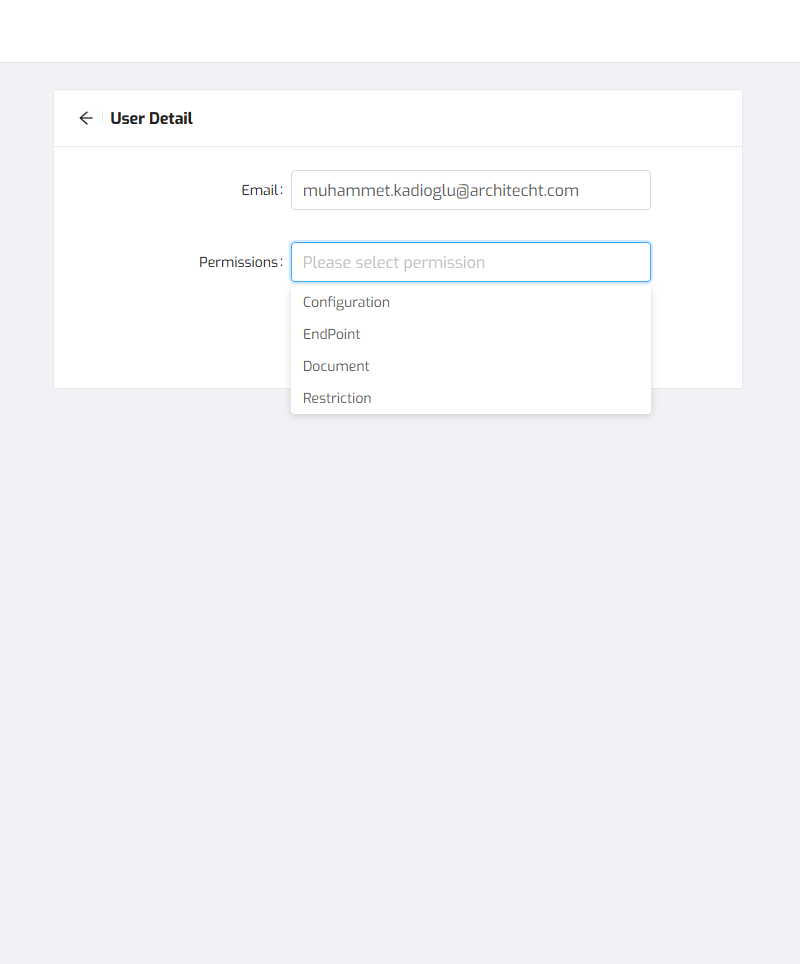
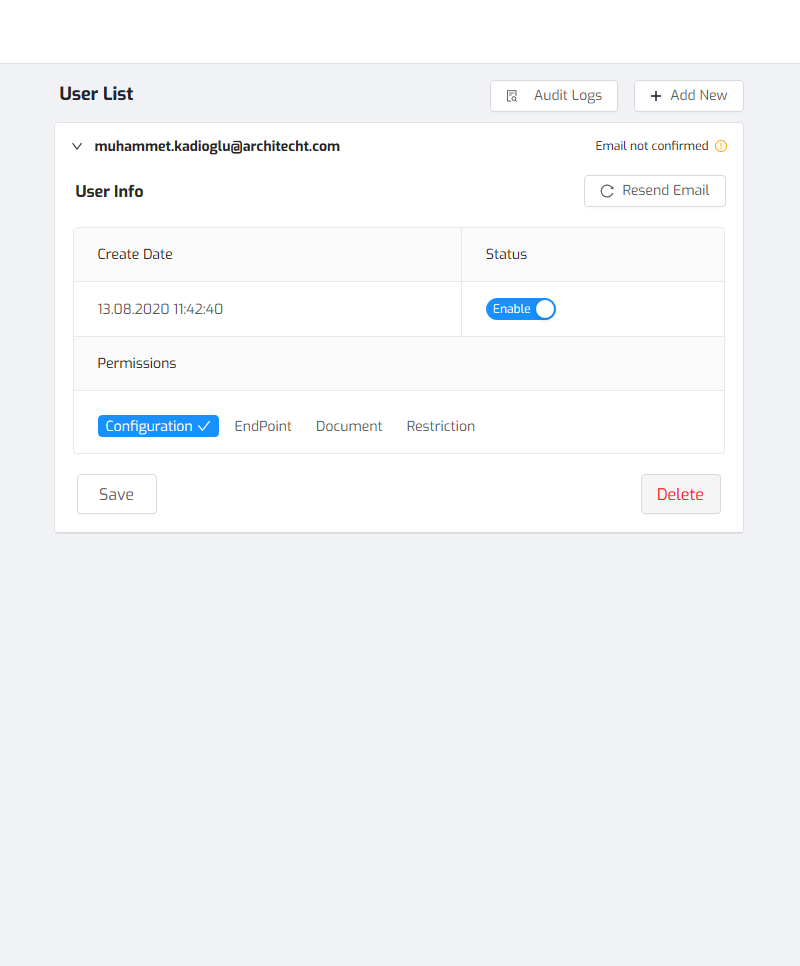
- Four types of permission include Configuration, Endpoint, Document, and Restriction can be defined for the users. There can be more than one user for a role. When a user is defined with one of the permission, the user can use all functions of it like tenant admin. Permissions are clickable, so the tenant admin can select the relevant user from the user list and update permissions anytime. Also, the status of the user can be adjusted, and the creation date is logged and monitored in this section. If the email cannot reach the new tenant user, there is a resend email button to provide a new one-time password. Tenant admin can save the changes with the button, and delete the user and make unauthorized the user.
- After the tenant admin gives permission to the new user, a confirmation email is sent to the new user’s email account. We should mention an outstanding point that SMTP Settings must be completed to execute the mail confirmation process.
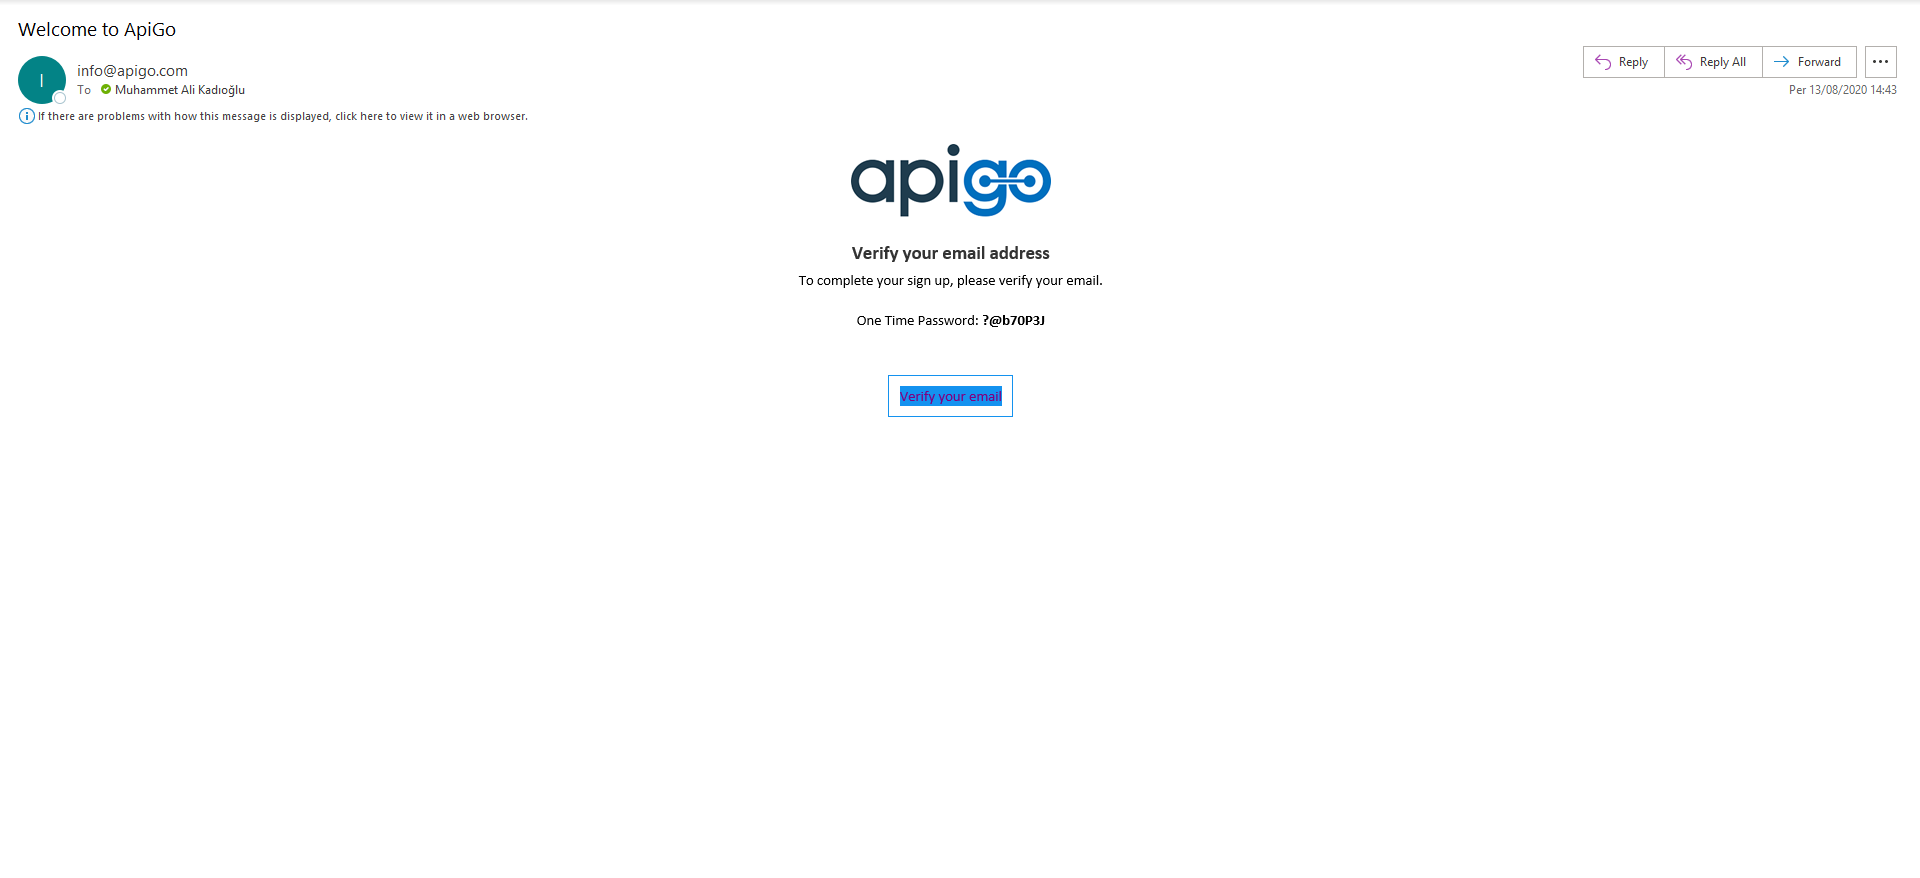
To verify the mail, click on the relevant button and reach the “Welcome to ApiGo” page. If the new tenant user is ready to start an amazing customer journey with ApiGo, can log in with a one-time password. Let’s click on Get Started and sign in.
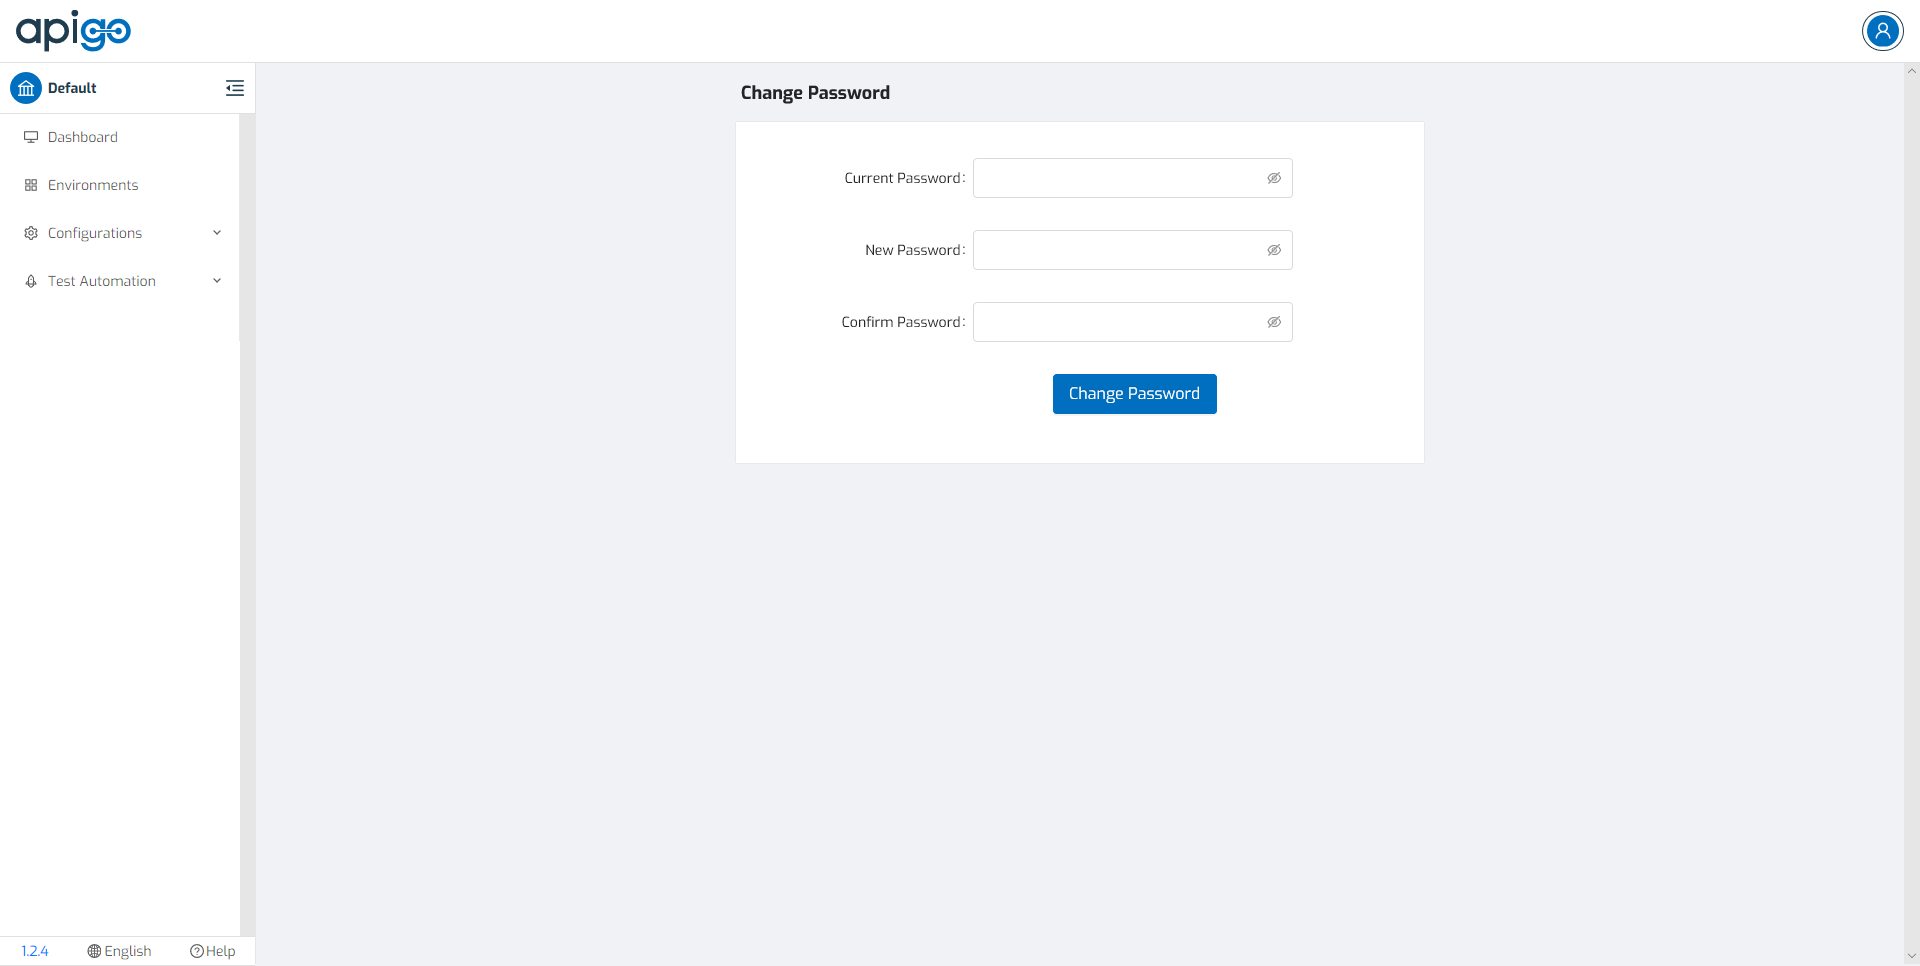
- Before getting started, the new tenant user needs to determine a new password. The current password can be filled with one-time password which is provided via email. Then, the user must determine a new password and confirm it. After password changing process is done, the new tenant user can use all taken permission functions like a tenant admin.
- To manage users, click on Users on the left side of the screen. This will lead you to the User management page. Different from each other authorizations can be granted for four types of admin by Tenant admin. The new tenant user takes a limited authority from the tenant admin. The new admin types can be called with their authorizations, Configuration Admin, Endpoint Admin, Document Admin, Restriction Admin.
6.1) Tenant User - Configuration Admin
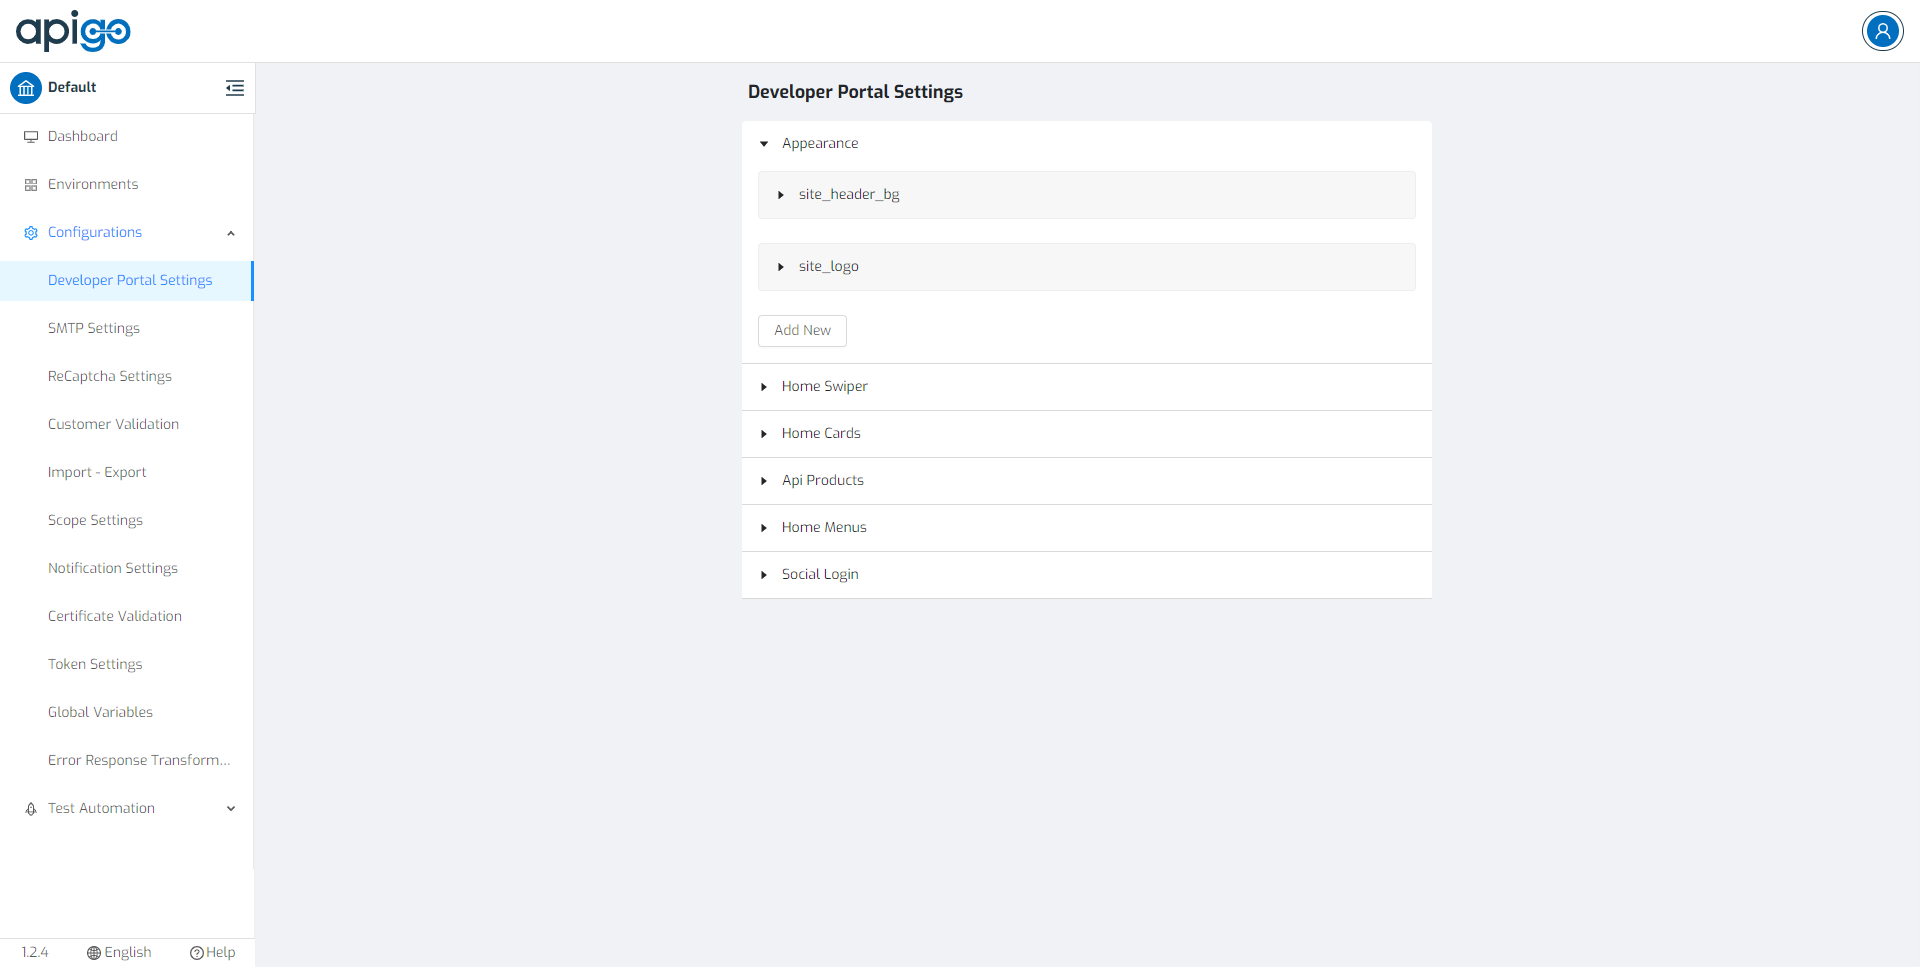
The new tenant user who is granted authorized with Configuration can reach Dashboard, Environments, Configurations and Test Automation menus. Configuration admin can manage Gateway, Developer and Management Portals configuration settings. Also, test automation can be executed by Configuration admin. For more information about the menus, please visit the related menu in User Manual Section.
6.2) Tenant User – Endpoint Admin
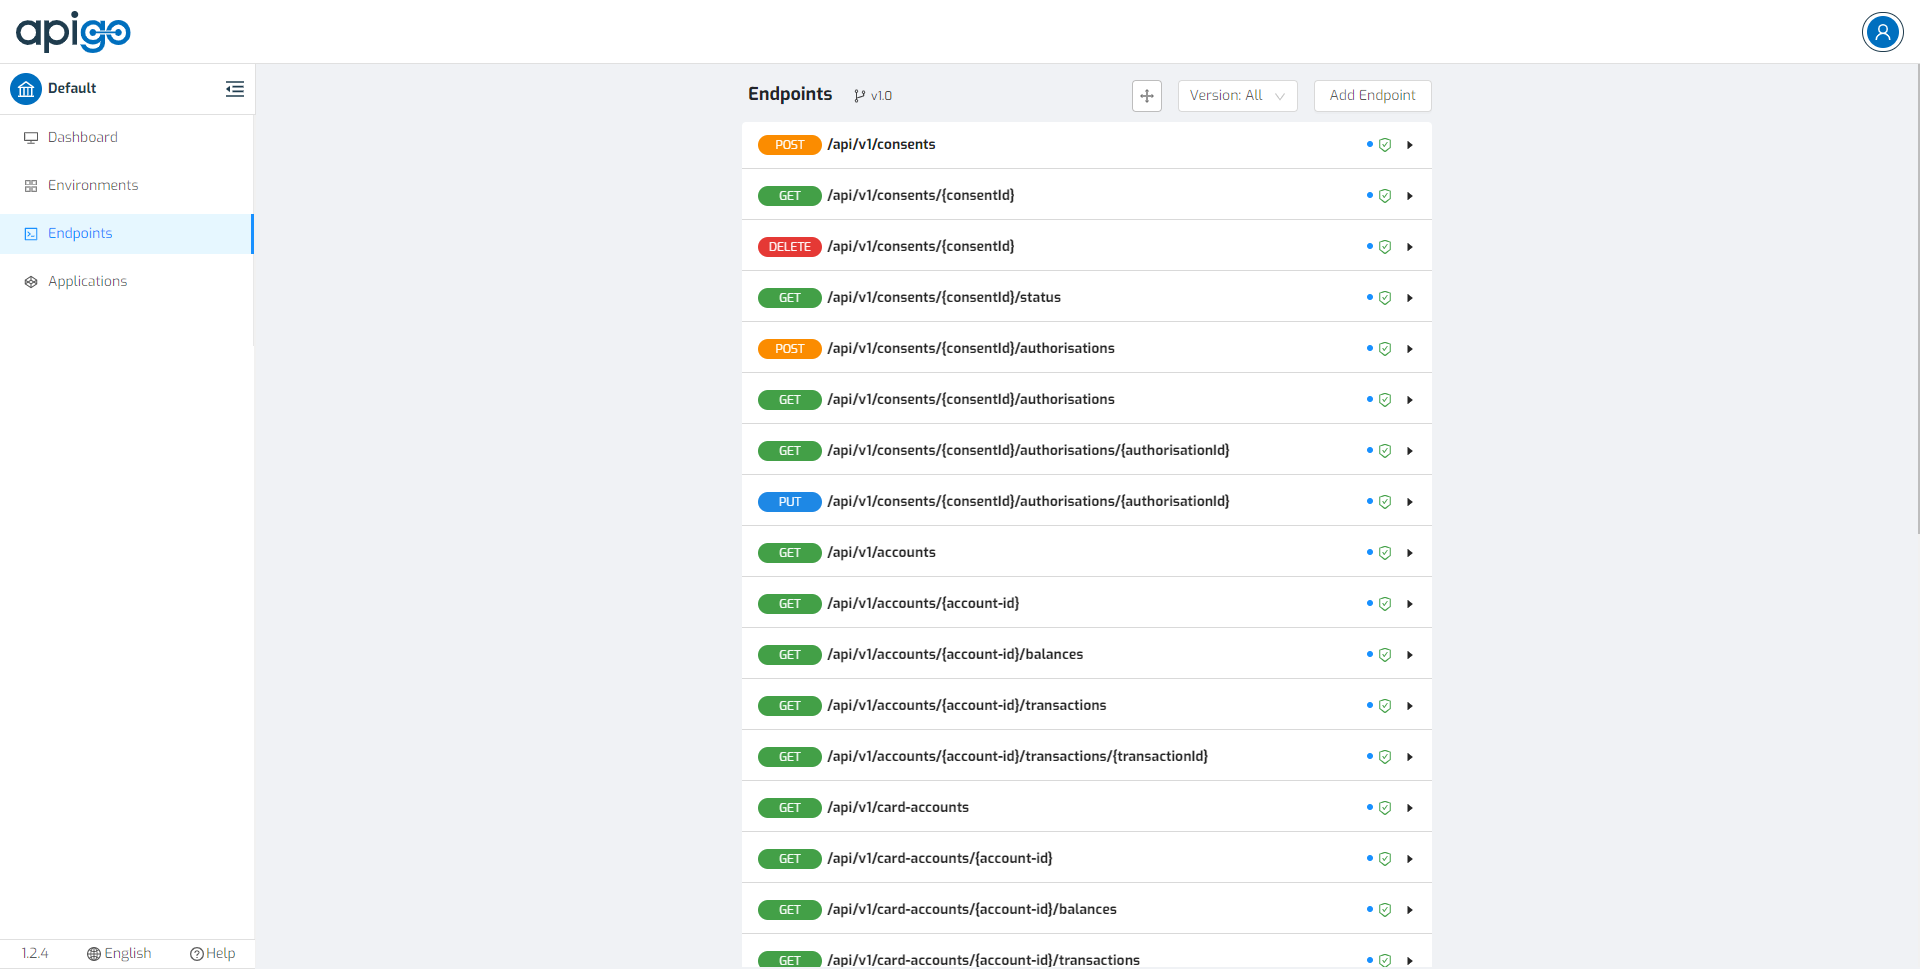
The new tenant user who is granted authorized with Endpoint can reach Dashboard, Environments, Endpoints and Applications menus. Endpoint admin can manage API services which will be served for developers. Also, applications can be controlled by Endpoint admin. For more information about the menus, please visit the related menu in User Manual Section.
6.3) Tenant User – Document Admin
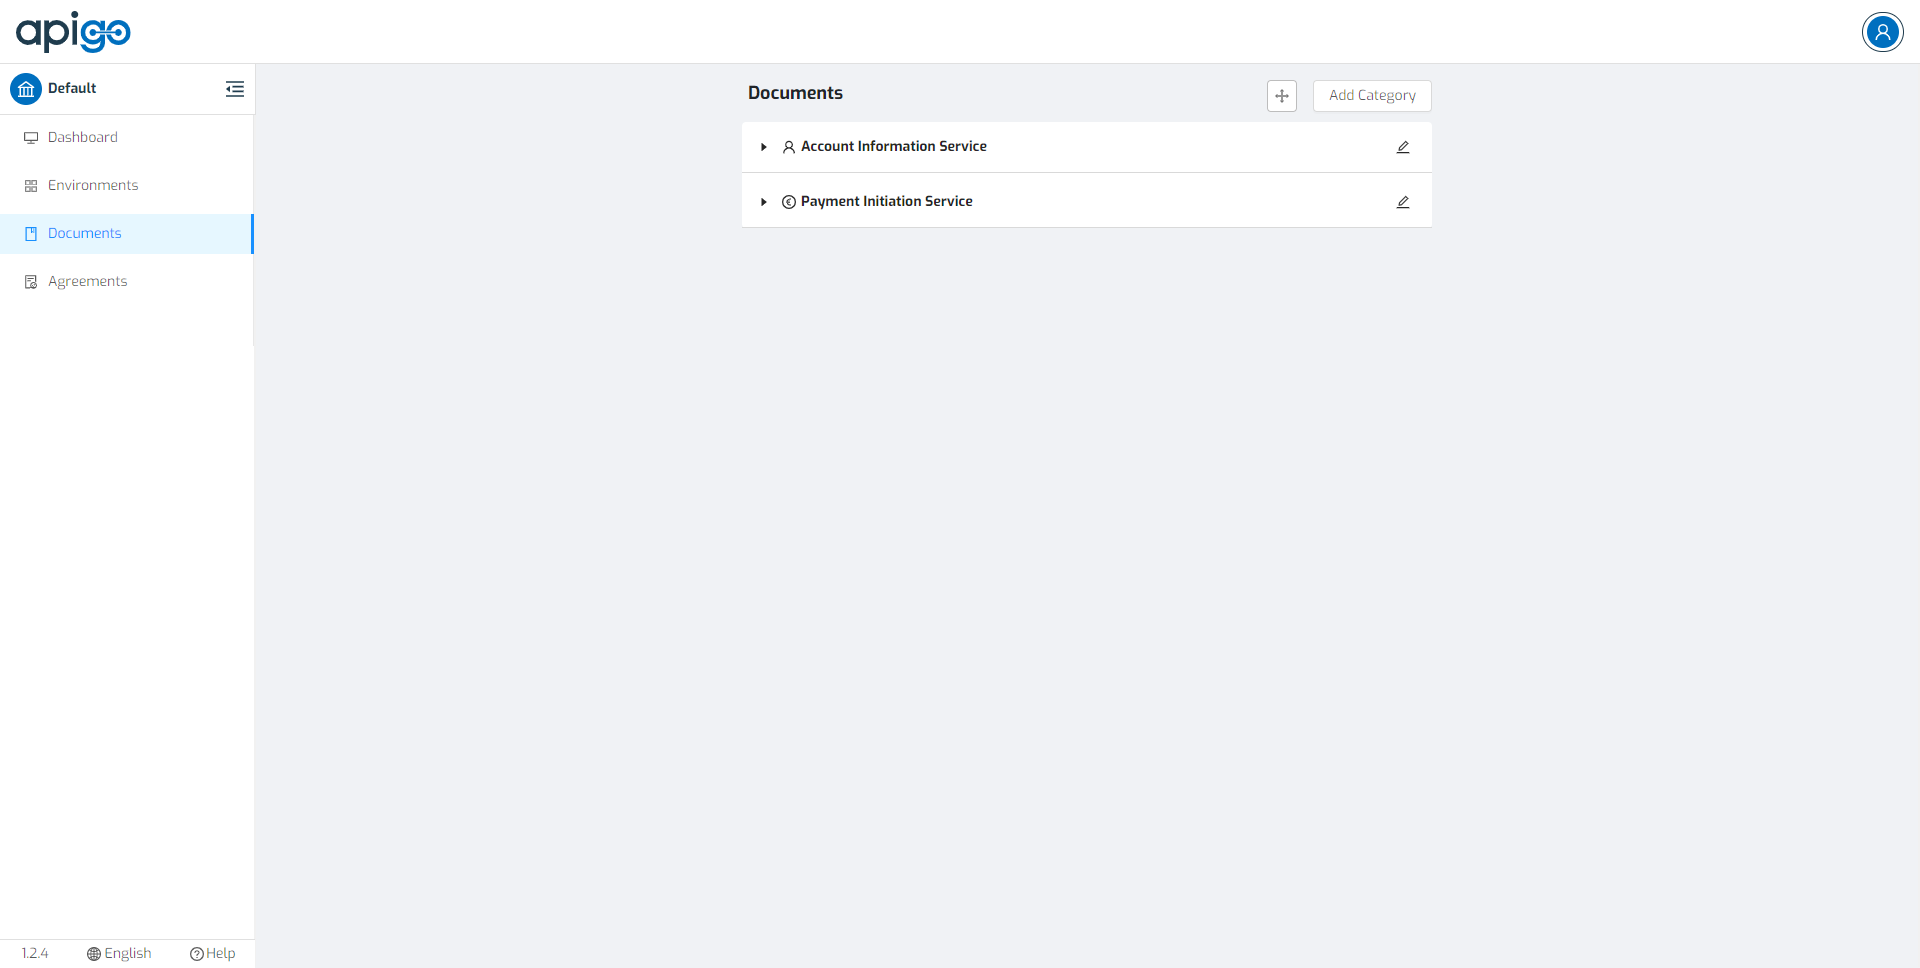
The new tenant user who is granted authorized with Document can reach Dashboard, Environments, Documents and Agreements menus. Document admin can manage documentation and agreements which will be served for developers. For more information about the menus, please visit the related menu in User Manual Section.
6.4) Tenant User – Restriction Admin
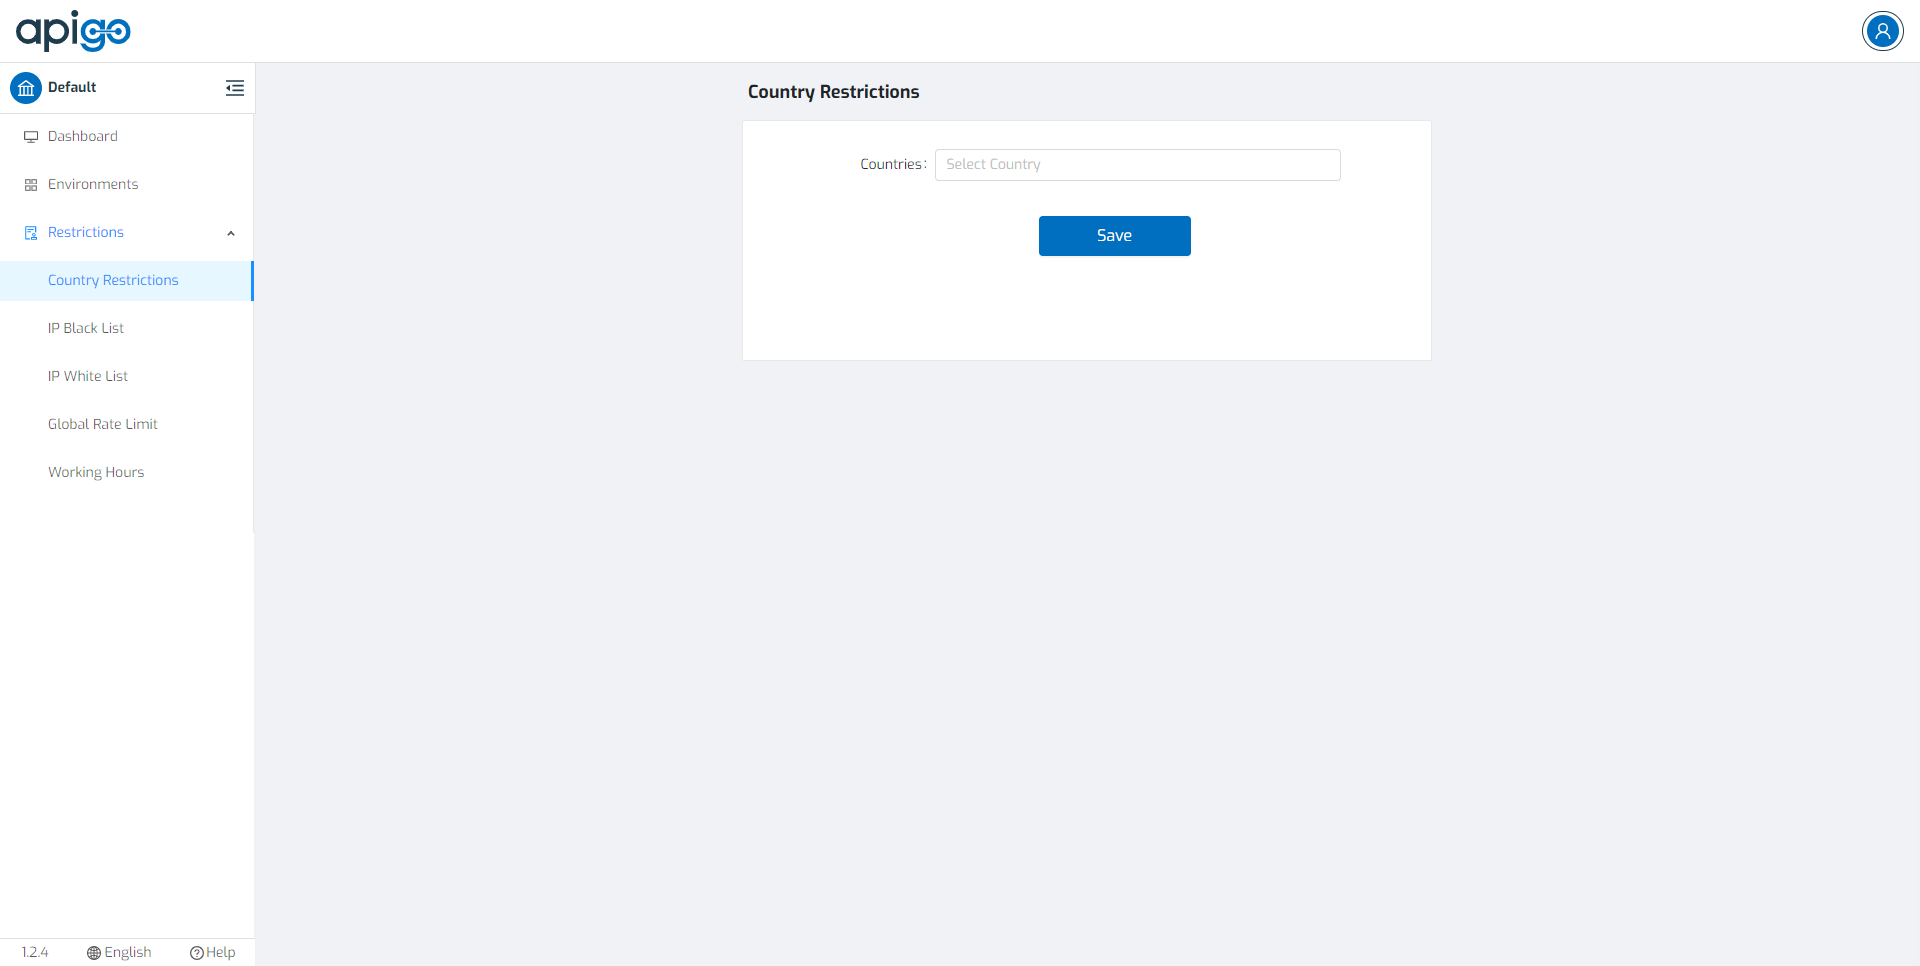
The new tenant user who is granted authorized with Restriction can reach Dashboard, Environments, Restrictions menus. Restriction admin can manage restrictions which will be implemented for gateway transactions. For more information about the menus, please visit the related menu in User Manual Section.
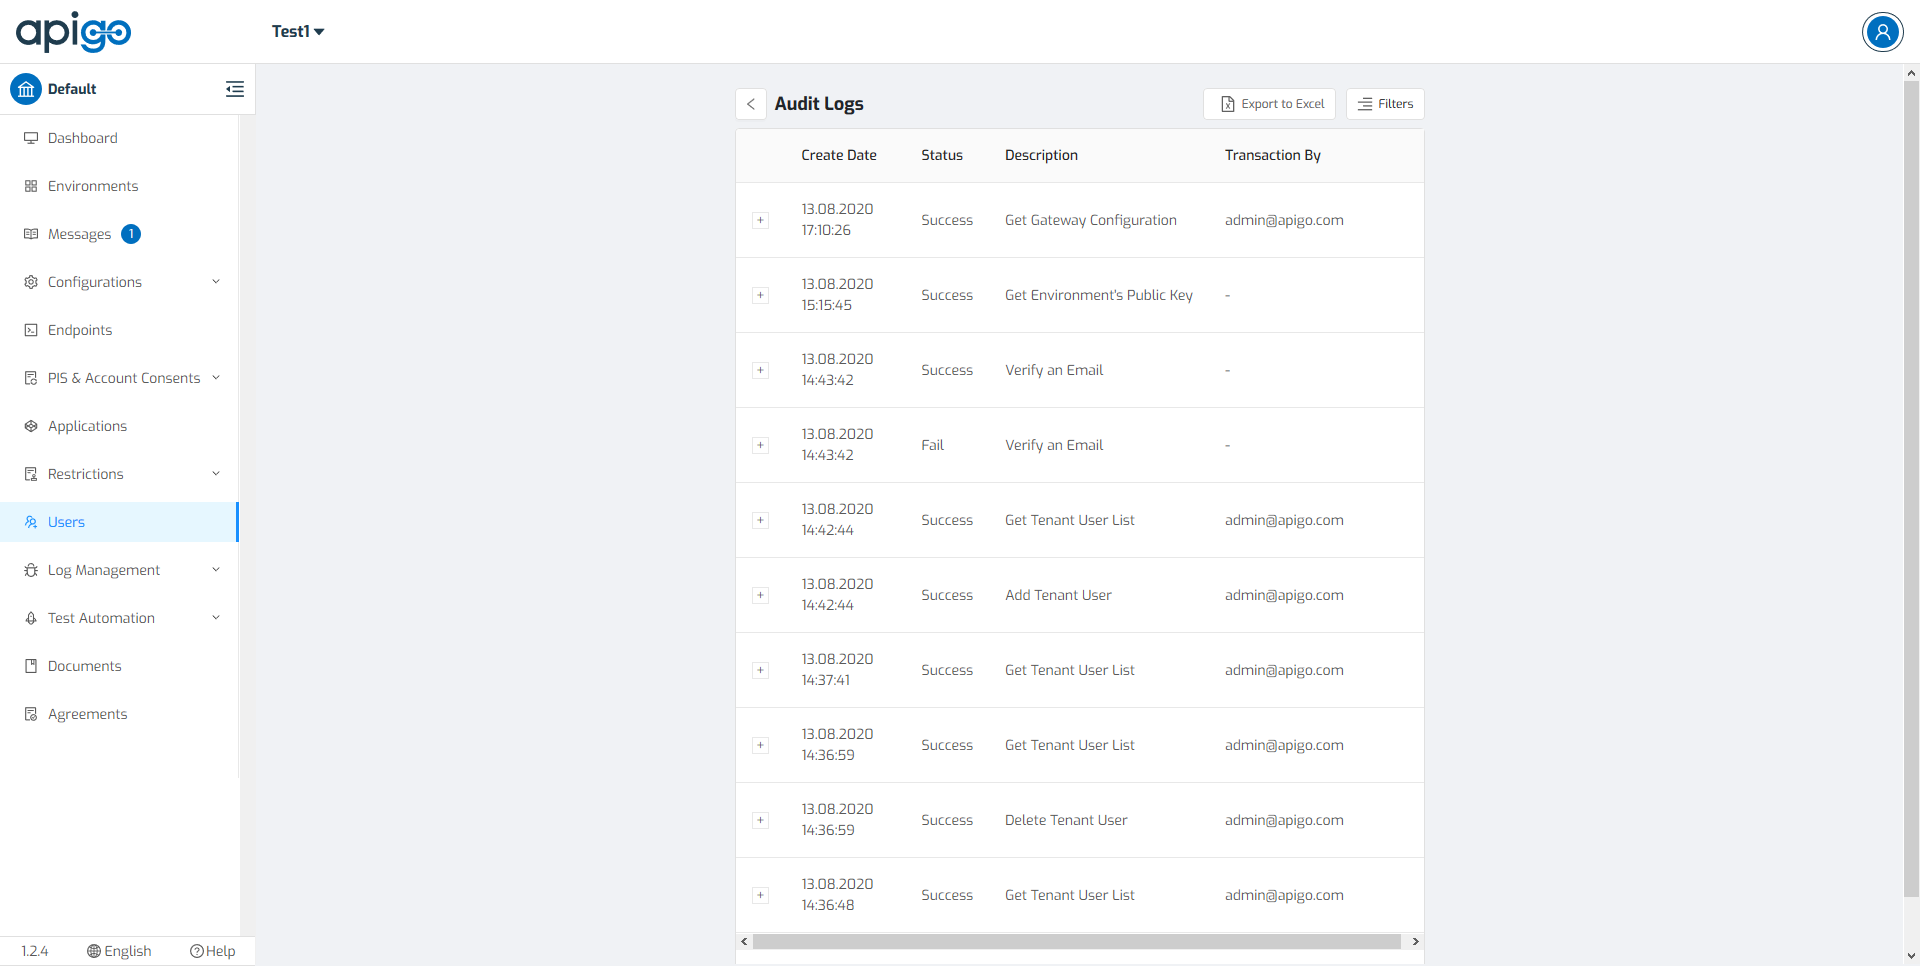
- By clicking on Users on the left side of the displayed screen. This will lead to the User Management page where tenant admin can click on Audit Logs to monitor the actions. It describes which user, when take an action and what is the status and description of the action. All of them logged and monitored via Audit Logs Screen.