Configurations
Note
Configurations are settings function to the users. They are able to manage their developer portal and arrange the appearance of it.
Site Settings
The site settings let the user manage the developer portal website’s external view.
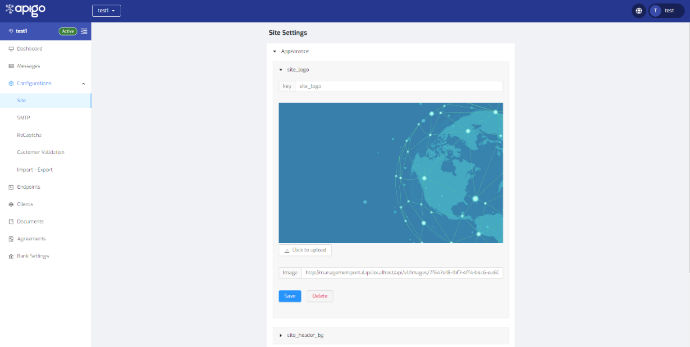
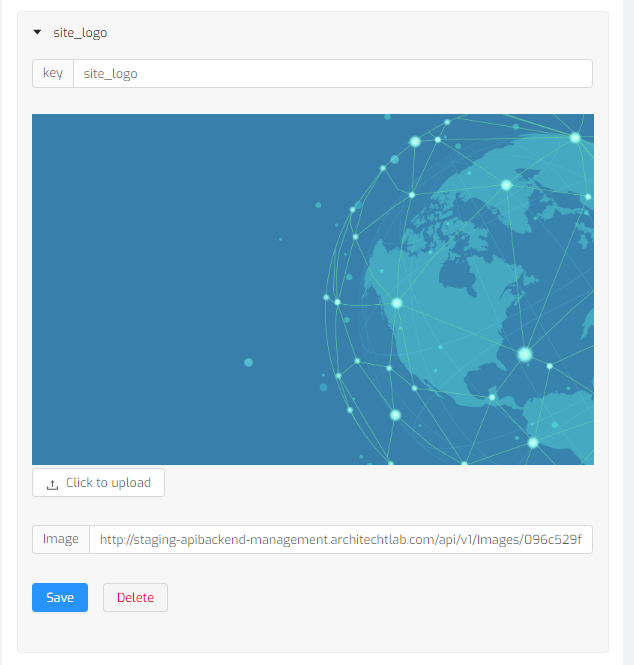
Appearance-Site Logo
The logo of the developer portal can be adjusted. “Click to upload” button provides to add any image to shape your developer portal website. You can save or delete your image and select another.
Appearance-Site Header
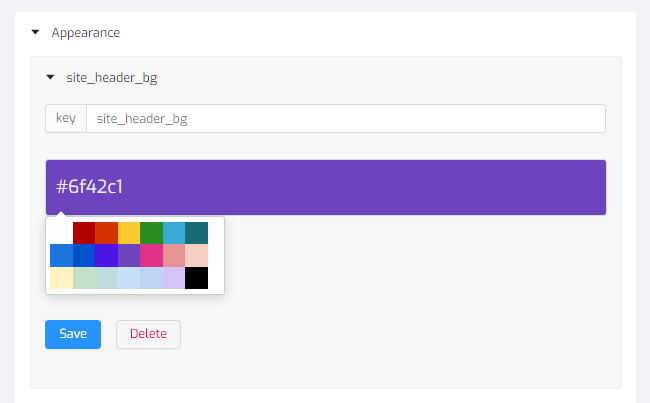
The background of the header can be changed. Select your favorite color and click on it. When you save it, the developer portal will be changed.
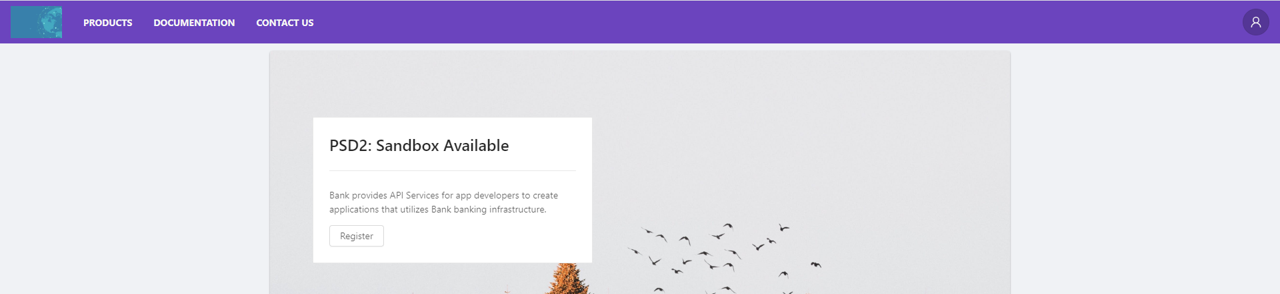
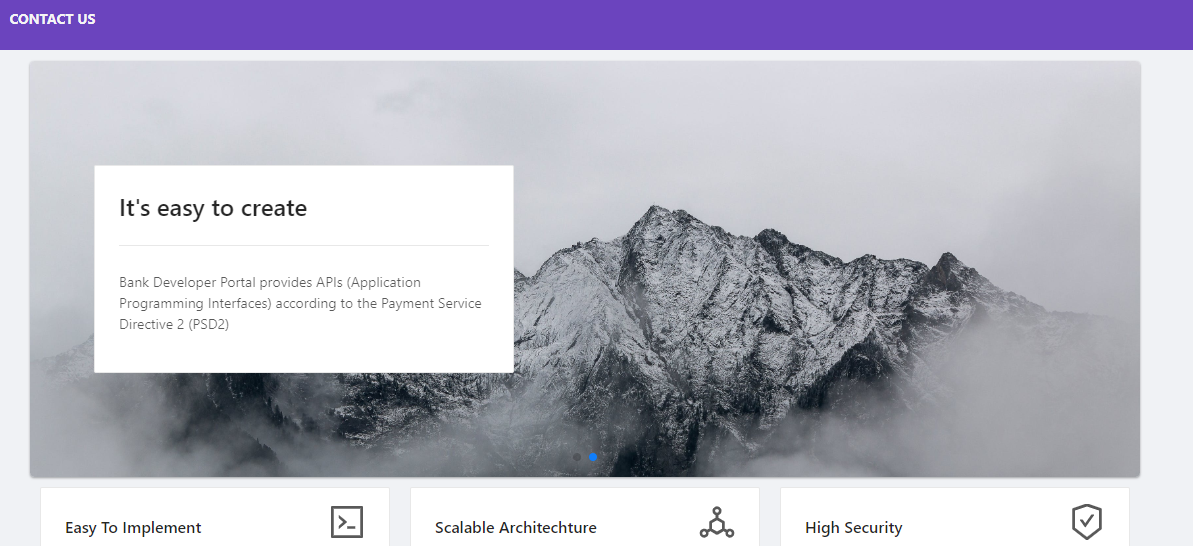
Home Swiper
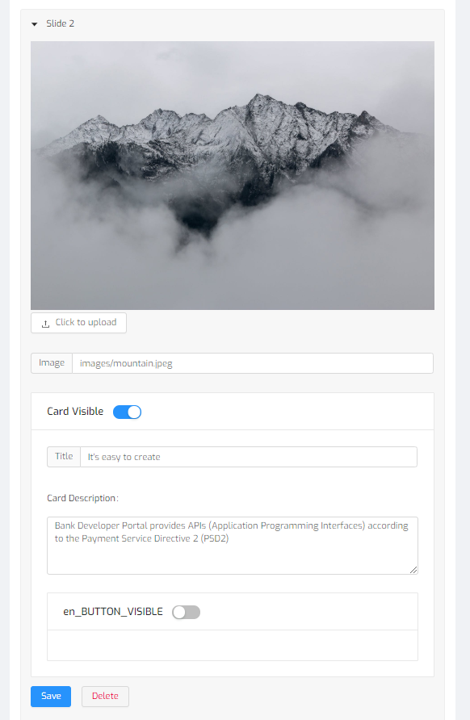
This function can be used to manage swipers on the main page of the developer portal website. To add a new slide, click on the “Add New” button. You can add card details in the slides. To download an image to the slide, click on to upload and select it. You can make the slide visible or invisible. Add a title and card description to the selected slide.
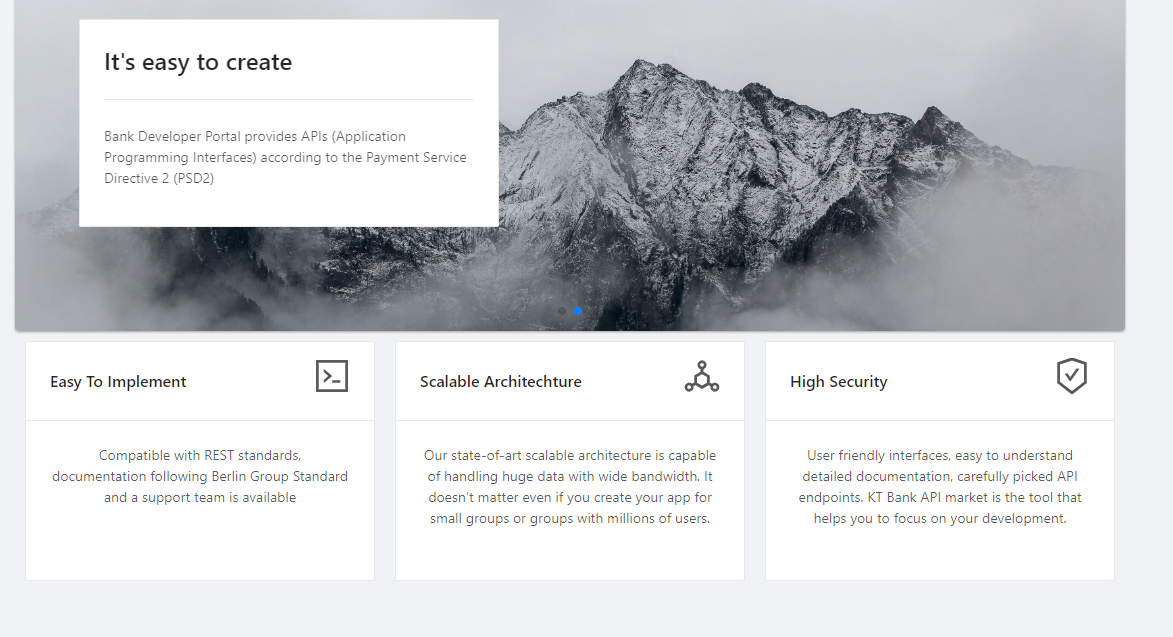
Home Card

The function manages the textboxes on the main page of the developer portal. You can add a title and an icon for your home card. Also, a description can be added.
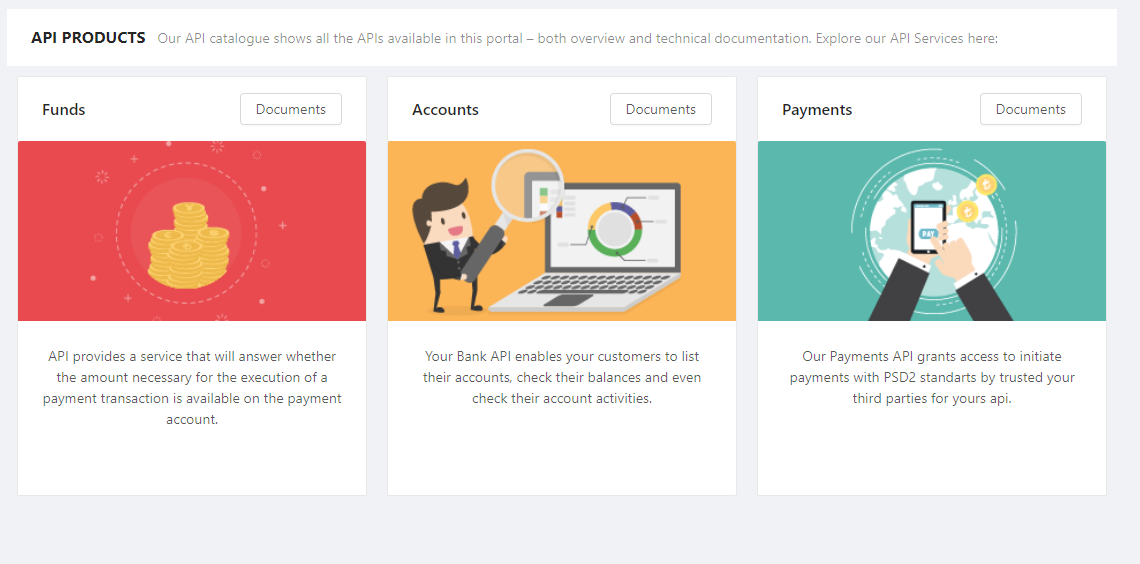
API Products
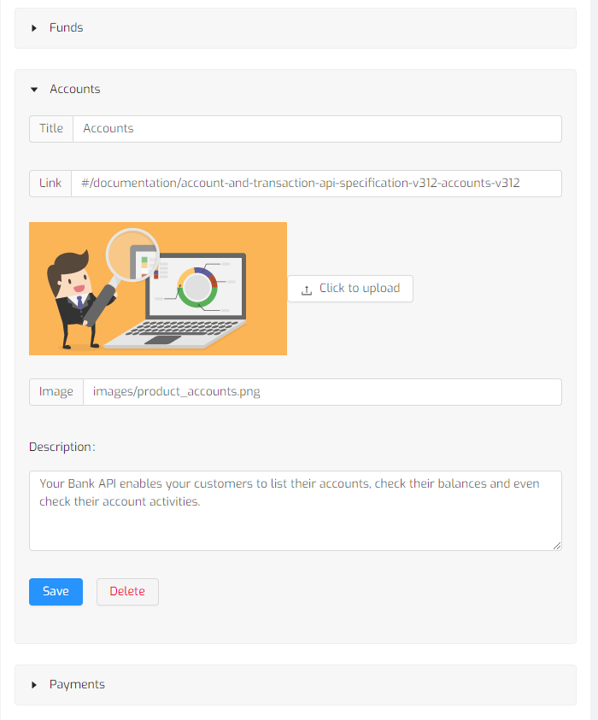
This function is to manage your API products, which are served for developers. You can add a title, link, image, and description to customize them.
SMTP Settings
Note
SMTP is part of the application layer of the TCP/IP protocol. Using a process called “store and forward,” SMTP moves your email on and across networks. It works closely with something called the Mail Transfer Agent (MTA) to send your communication to the right computer and email inbox.
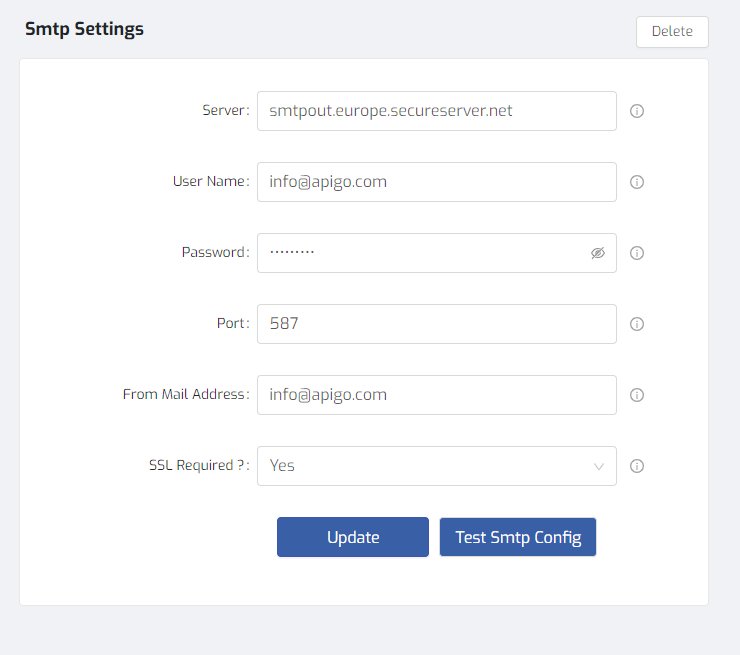
You can identify the SMTP server name, username, and password. Also, add a port, mail address, and security certificate require information. After saving SMTP settings, you can update or test it.
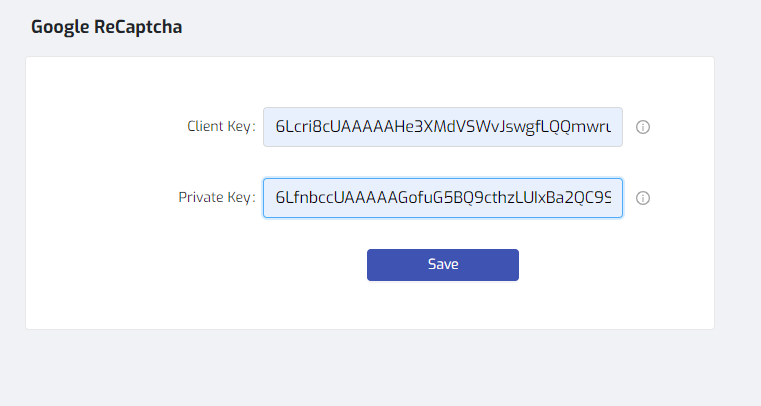
reCAPTCHA Settings
Note
reCAPTCHA is a free service from Google that helps protect websites from spam and abuse. A “CAPTCHA” is a turing test to tell humans and bots apart. It is easy for humans to solve, but hard for “bots” and other malicious software to figure out.
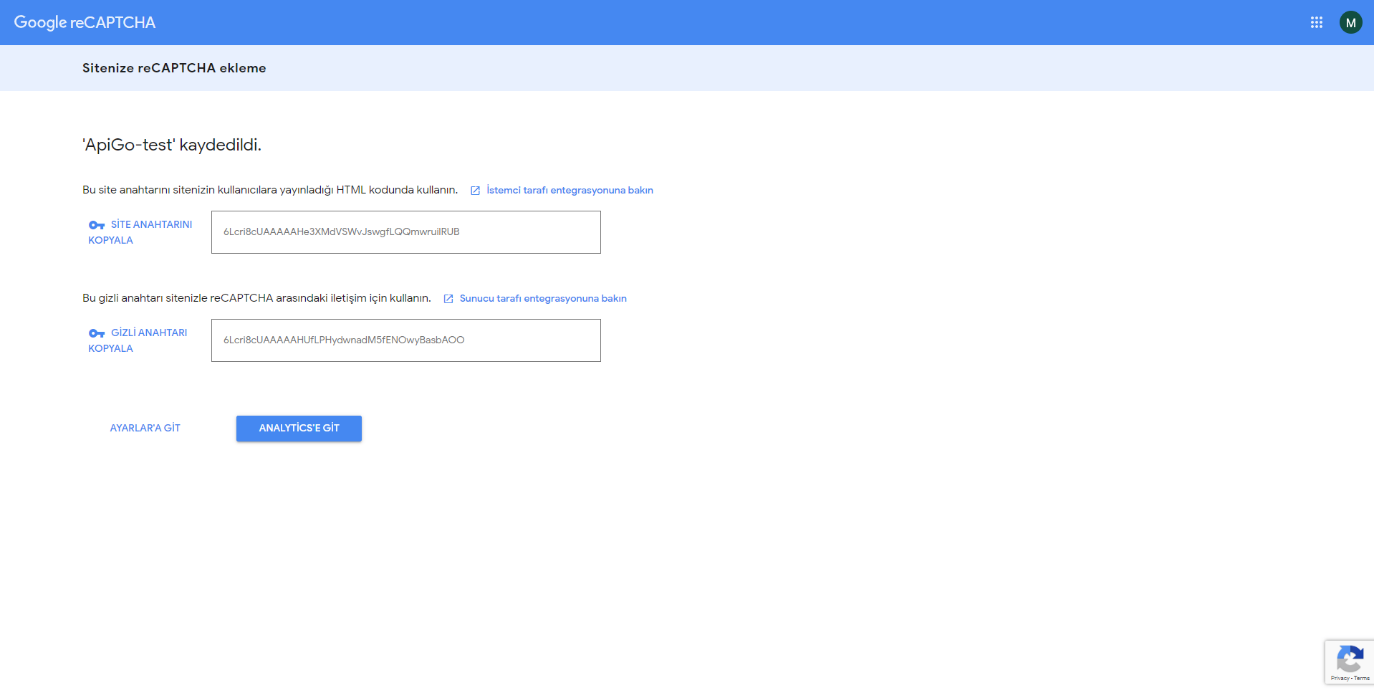
To fill in the client and private key, you have to receive inputs from your Google account. After you take these keys, you need to paste them to relevant blanks.
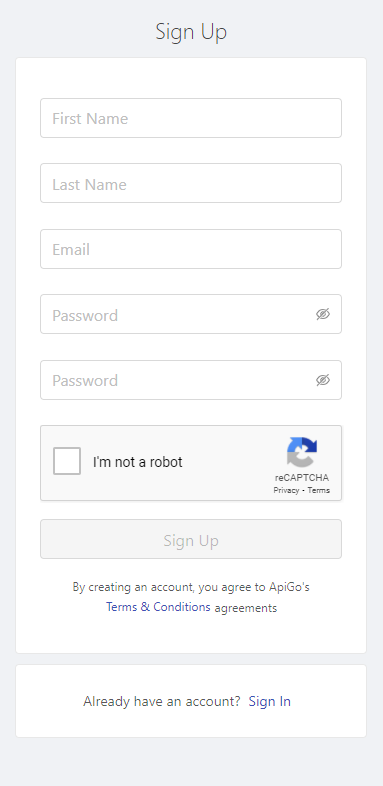
By adding reCAPTCHA to the site, you can block automated software while helping your welcome users to enter with ease. The generated reCAPTCHA will be available in the developer portal.
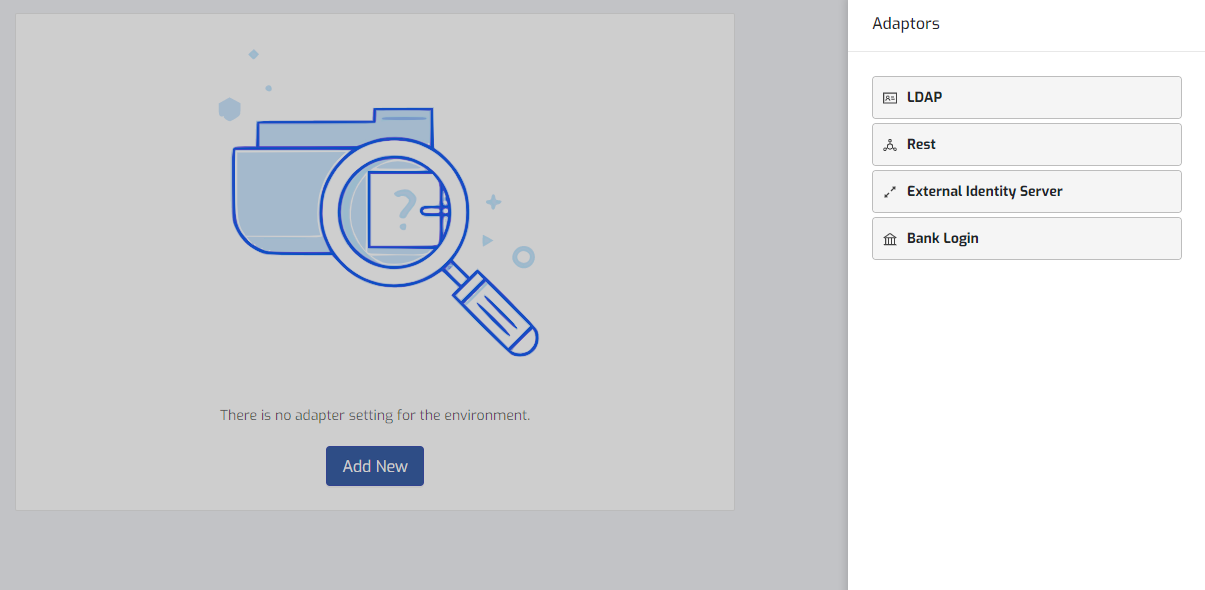
Customer Validation
This function is used to authenticate bank users with ApiGo. There are four fundamentals for configuring validation. These are LDAP, Rest, External Identity Server, and Bank Login.
To add an adapter setting for the environment, click on “Add New” bottom. You will see a list of adaptors on the left side of the page.
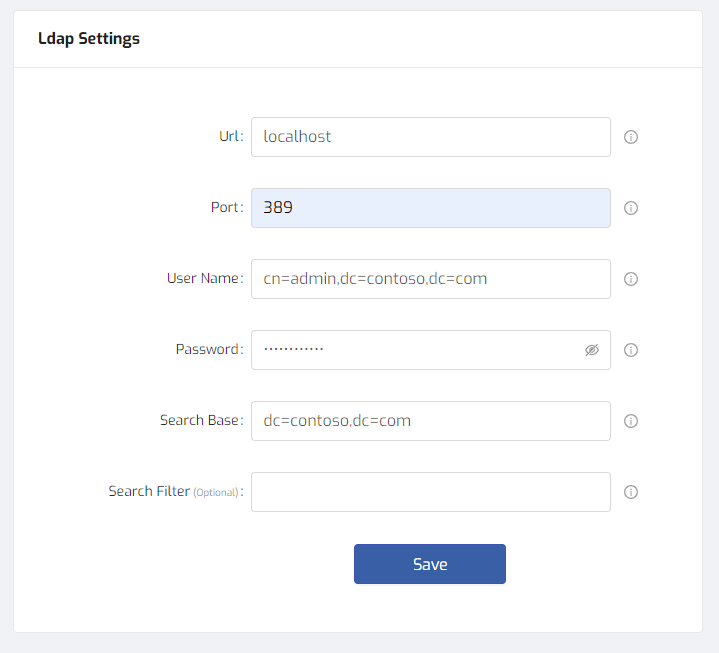
LDAP Settings
- Enter the name of the server where LDAP is hosted,
- Enter the LDAP server port. The default port is 636.
- Enter the username for logging to the LDAP server. You can use a regular user.
- Enter the password for logging to the LDAP server.
- The Base Distinguished Name for your LDAP directory. For a commercial organization, it may look something like: ‘dc=companynamehere,dc=com’
- Determine the search criteria for user logins. By default, users log in using their email address. If you have changed this setting, you must modify the search filter here. For example, if you changed the authentication method to use the screen name, you would modify the search filter so that it can match the entered login name: ‘ (cn=@screen_name@) ‘
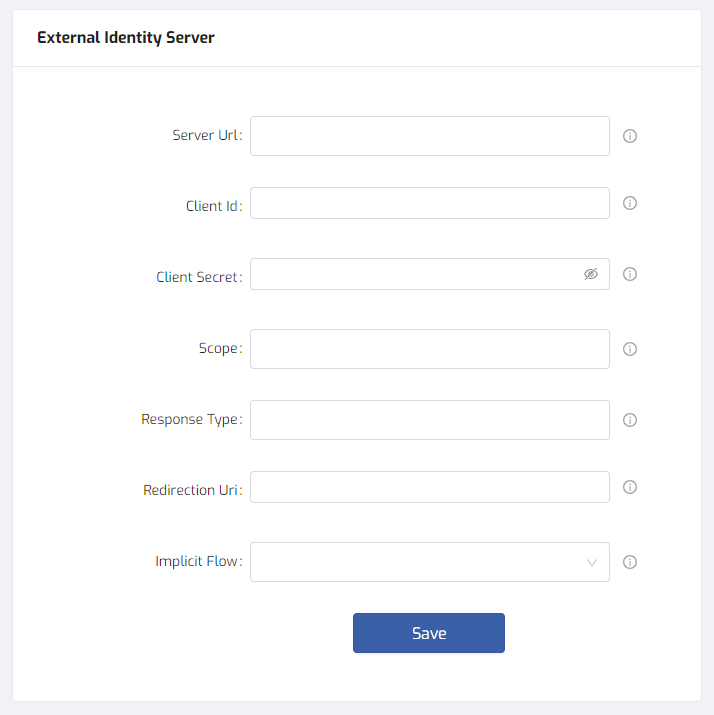
External Identity Server
- Enter your identity server URL
- Enter the Client Id
- Enter the Client Secret
- You need to enter a scope
- You need to enter response type
- Enter the Redirection Uri of the certificate
- You need to select implicit flow type
Export The Settings
You can download or upload your environment settings on this page. This function can be used to transfer configuration settings.
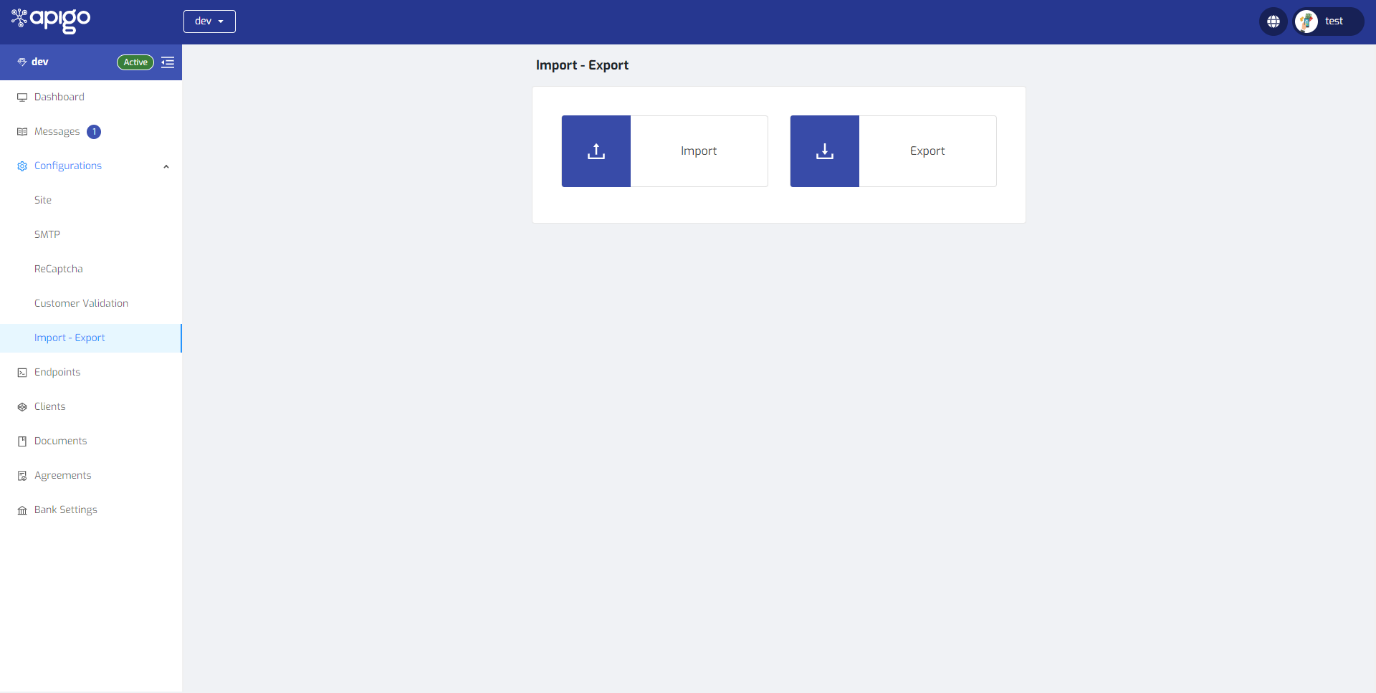
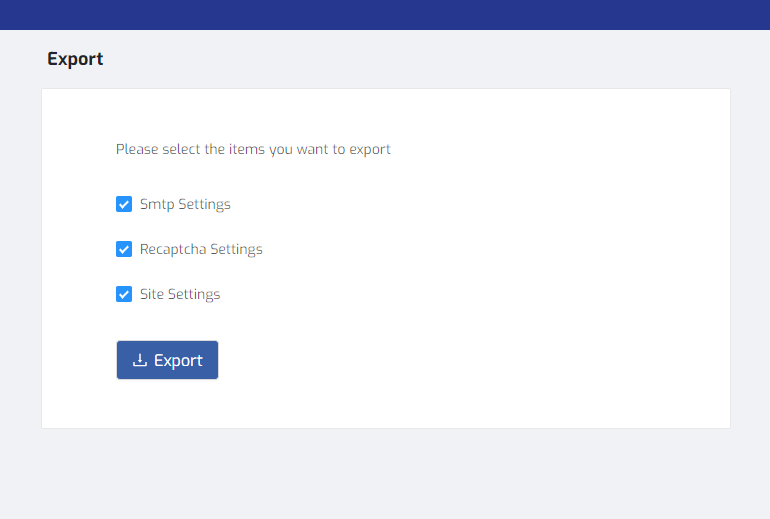
You can select the items you want to export. To download the configuration settings, click on the “Export” button. The downloaded document will be available to import it.
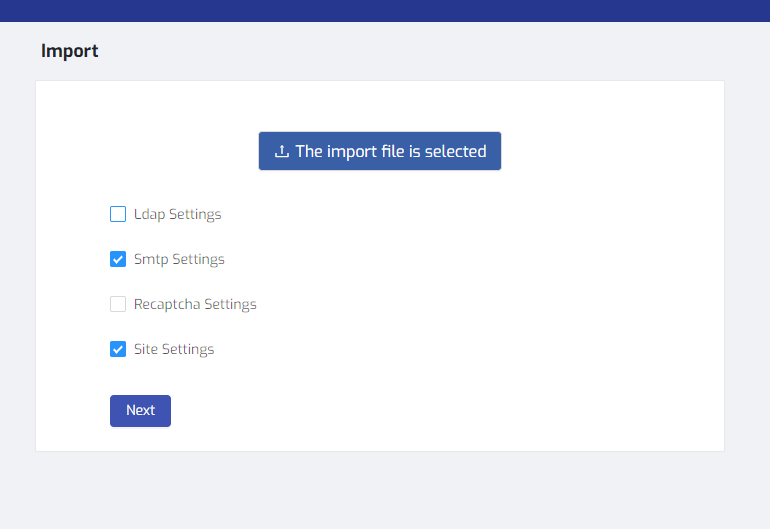
Import The Settings
To upload the configuration settings, click on the “Import” button.
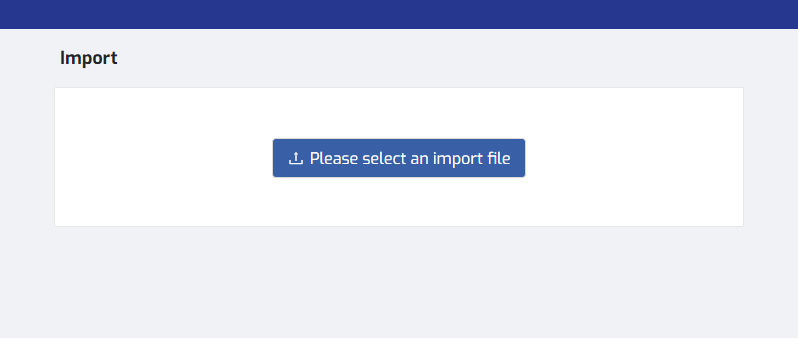
Your document will be downloaded. To upload it, click on the “Import” button. You will welcome with a page to import. Select an import file in the page. And, you can specify your import selection. Finally, click on “Next” and change your environment settings.